Saf-holland XL-FW503 FleetMaster LowLube Series Fifth Wheels w Manuel d'utilisateur
Naviguer en ligne ou télécharger Manuel d'utilisateur pour Pour la voiture Saf-holland XL-FW503 FleetMaster LowLube Series Fifth Wheels w. SAF-HOLLAND XL-FW503 FleetMaster LowLube Series Fifth Wheels with Manual Sliding Secondary Lock XA-201-S10217, XA-201-S10579 & XA-231-S10217 User Manual Manuel d'utilisatio
- Page / 24
- Table des matières
- MARQUE LIVRES
- FIFTH WHEEL 1
- TECHNOLOGY 1
- INSTALLATION INSTRUCTIONS 2
- General Safety Information 2
- Installation 3
- /2˝ in 4 places 4
- PLUNGER ADJ. BOLT 7
- BRACKET CAP 7
- Fifth Wheel Inspections 9
- OPERATING INSTRUCTIONS 10
- Coupling Procedures 11
- PULL TEST 12
- Uncoupling Procedures 13
- UNLOCK LOCK 14
- MAINTENANCE PROCEDURES 15
- Left Hand Release Shown 16
- CHECK FOR POSSIBLE 18
- INTERFERENCE 18
- Manual Secondary Operation 19
- Uncoupling 19
- Coupling 19
- Figure 7 20
- Figure 8 20
- XL-FW503 Rev B 21 21
- 22 XL-FW503 Rev B 22
- XL-WC102-04 Rev C 23
- OPEN CLOSED 24
Résumé du contenu
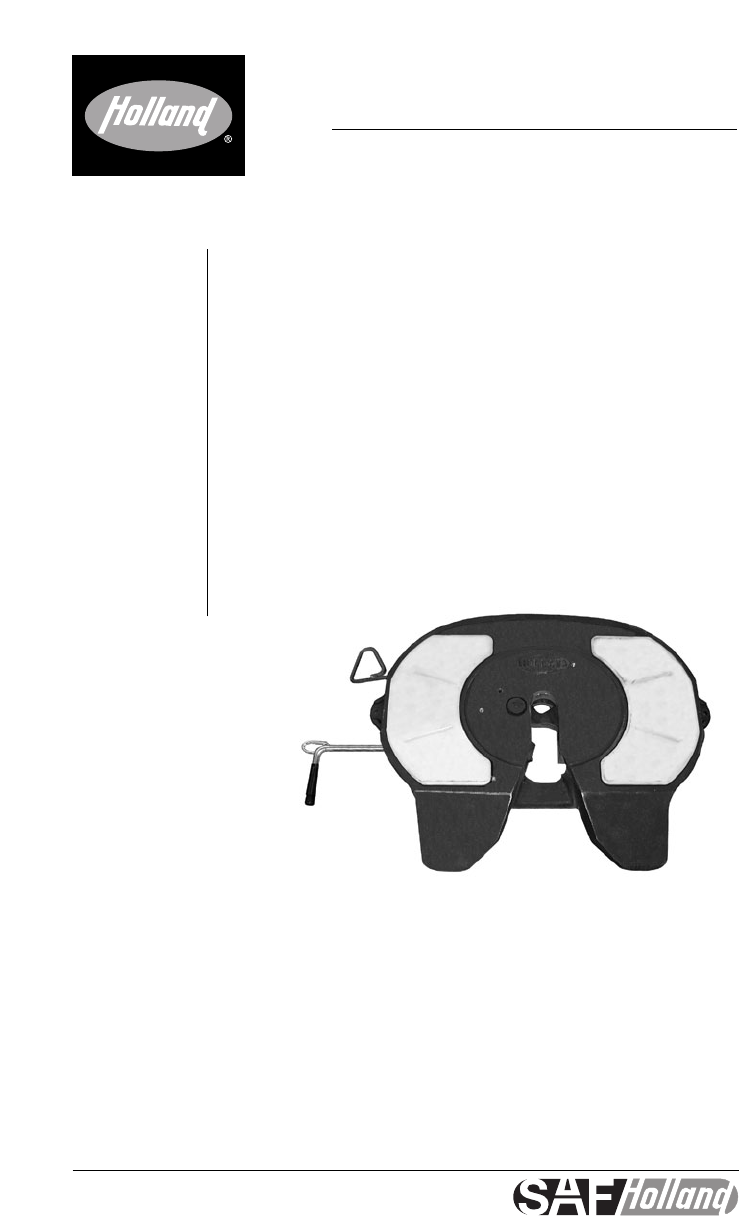
LOWLUBEXL-FW503 Rev BFIFTH WHEELTECHNOLOGYFleetMaster LowLube SeriesFifth Wheels with ManualSliding Secondary LockXA-201-S10217, XA-201-S10579& XA
10 XL-FW503 Rev BOPERATING INSTRUCTIONS continuedTrailer Upper Coupler Inspections1. Inspect the leading edge of the trailerbolster/skid plate. It mus
XL-FW503 Rev B 11OPERATING INSTRUCTIONS continuedCoupling Procedures1. Make sure the coupling area is flat,level, and clear of persons andobstacles.2.
12 XL-FW503 Rev BOPERATING INSTRUCTIONS continued8. Adjust trailer height so fifth wheelwill lift trailer. Trailer should contact fifth wheel 4˝ - 6˝
XL-FW503 Rev B 13OPERATING INSTRUCTIONS continuedUSEHIGHGEAR1. Position tractor and trailer on firm,level ground clear of obstacles andpersons.2. Set
1. Position tractor and trailer in a straight line on level ground.2. Lock the trailer brakes.The trailer must be stopped and the trailer brakeslocked
XL-FW503 Rev B 15MAINTENANCE PROCEDURES1. IMPORTANT! Always maintain adequate lubrication in fifth wheel locking mechanism.Relube as necessary (see Fi
16 XL-FW503 Rev BMAINTENANCE PROCEDURES continuedInspection – Locking Mechanism1. Check the operation of the fifth wheellocking mechanism using a Holl
XL-FW503 Rev B 17MAINTENANCE PROCEDURES continuedAdjustment – Locking Mechanism:1. Using ONLY a Holland TF-TLN-5001Lock Adjustment Tool, lock the fift
18 XL-FW503 Rev BMAINTENANCE PROCEDURES continuedAdjustment – Fifth Wheel SlideMechanism1. Loosen lock nut and turn adjustmentbolt out (counter-clockw
XL-FW503 Rev B 19LEFT HAND(ROAD SIDE)RELEASEMANUALSLIDINGSECONDARYLOCK))))))))))))))))➊➌➍➎➐➏➑➋➒➓11Figure 1 Figure 2MANUAL SLIDING SECONDARY LOCKOperat
INSTALLATION INSTRUCTIONS2 XL-FW503 Rev BGeneral Safety InformationIt is important to read, understand, and follow the important information contained
20 XL-FW503 Rev BMANUAL SLIDING SECONDARY LOCKRebuilding InstructionsIf your fifth wheel is equipped with themanual sliding secondary lock, thenrebuil
XL-FW503 Rev B 21
22 XL-FW503 Rev B
HOLLAND FW8 SERIES FIFTH WHEELNORTH AMERICAN COMMERCIAL WARRANTYSAF-HOLLAND’s Commitment:We warrant each FW8 and FW83 (LowLube model) fifth wheel(here
24 XL-FW503 Rev BIMPORTANT: Enclosed is importantinformation for the installation, operation,and maintenance of this product. Read andunderstand this
XL-FW503 Rev B 3INSTALLATION INSTRUCTIONS continuedInstallationGeneral Recommendations1. Every user and installer using SAF-HOLLAND products either re
Stationary Fifth Wheel InstallationPrior to proceeding with the installation of the stationary fifth wheel assembly, carefullyreview the “General Safe
INSTALLATION INSTRUCTIONS continuedStationary Fifth Wheel Installation continuedBracket with Mounting Base (See Figures 2A, 2B, and 2C):1. Holland bra
6 XL-FW503 Rev BINSTALLATION INSTRUCTIONS continuedSliding Fifth Wheel Installation continued1.00˝(25.4 mm) MIN.CENTER LINE OFTRACTOR REARAXLE(S) ORBO
Sliding Fifth Wheel Installation continuedAdjustment of Sliding Bracket Locking PlungersThe slide locking plungers are given a preliminary adjustment
Attachment of Air-Activated Slide Release – If Required1. Mount the cab control valve in accordance with the instructions provided. It shouldbe readil
1. Inspect the fifth wheel and mounting.• Confirm that the lube plates are in place and firmly attached.• Tighten loose fasteners.• Replace missing fa
Produits connexes et manuels pour Pour la voiture Saf-holland XL-FW503 FleetMaster LowLube Series Fifth Wheels w
 (12 pages)

 (76 pages) (20 pages)
(12 pages)
(20 pages)
(20 pages)
(16 pages)
(2 pages)
(4 pages)
(2 pages)
(2 pages)
(4 pages)
(4 pages)
(76 pages) (20 pages)
(12 pages)
(20 pages)
(20 pages)
(16 pages)
(2 pages)
(4 pages)
(2 pages)
(2 pages)
(4 pages)
(4 pages)
© 2020, manymanuals.fr. Tous droits réservés | 0.801 s |
 Manymanuals.com
 Manymanuals.de
 Manymanuals.fr
 Manymanuals.it
 Manymanuals.pl
 Manymanuals.cz
 Manymanuals.es
 Manymanuals-pt.com
Commentaires sur ces manuels